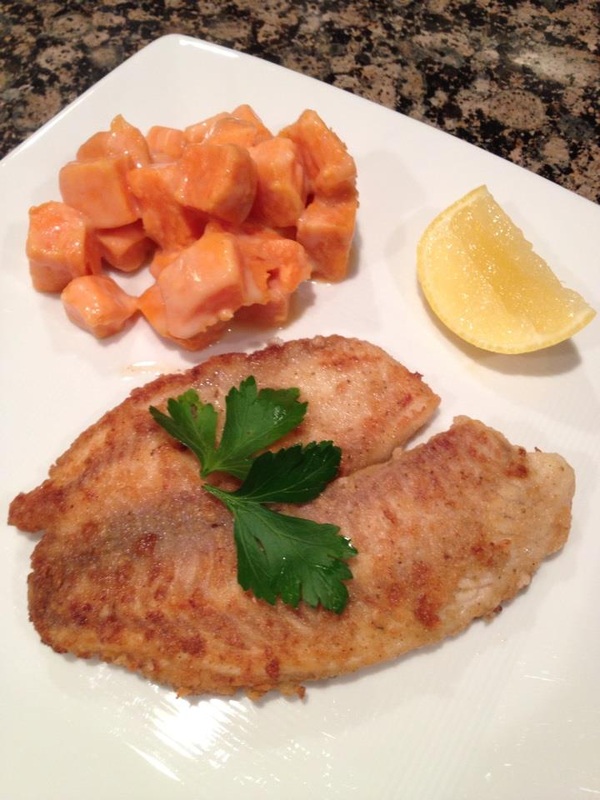
This is a great weeknight dish, so easy & fast to make...so yummy & healthy too. Tilapia is oh so tender and mild.
Ingredients:
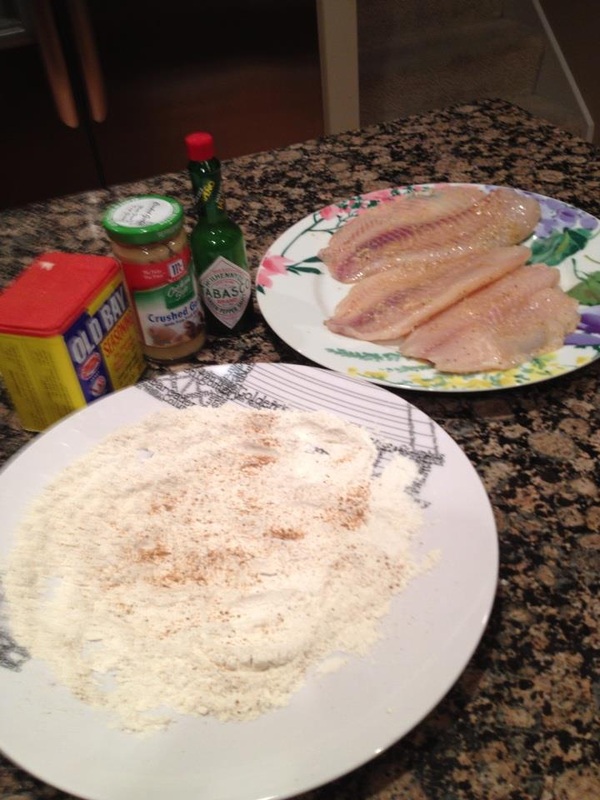
3 Tilapia filet
2 tsp of Old Bay Seasoning (OBS)
2 tsp of salt
1/2 cup of all purpose flour
several dashes of hot sauce (I use green Tabasco sauce.)
1-2 tsp of garlic paste
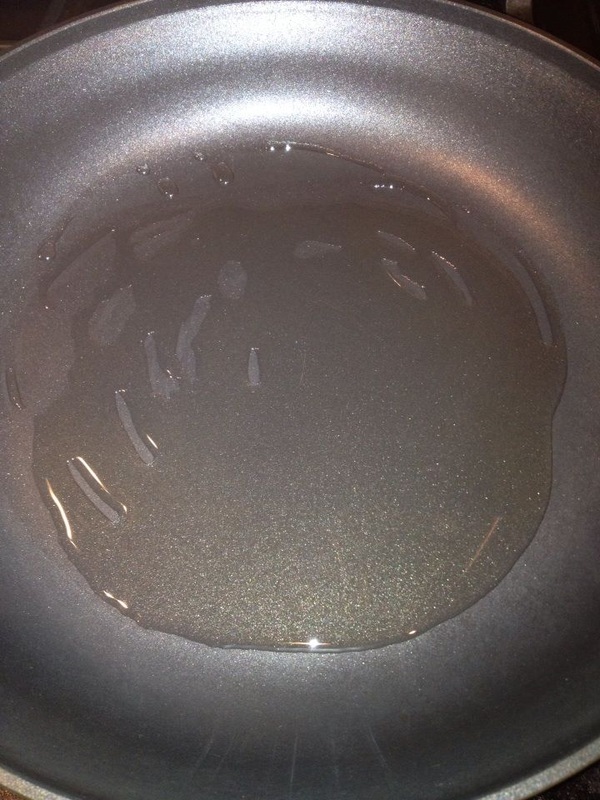
1 tbsp of canola oil
Lemon
How to:
1. In a shallow dish, combine flour, 1 tsp of OBS, and 1 tsp of salt together. Whisk the flour mixture lightly or just until combined.
2. In another dish with the Tilapia filet, rub the fish with the other 1 tsp of salt & OBS, hot sauce, and garlic paste.
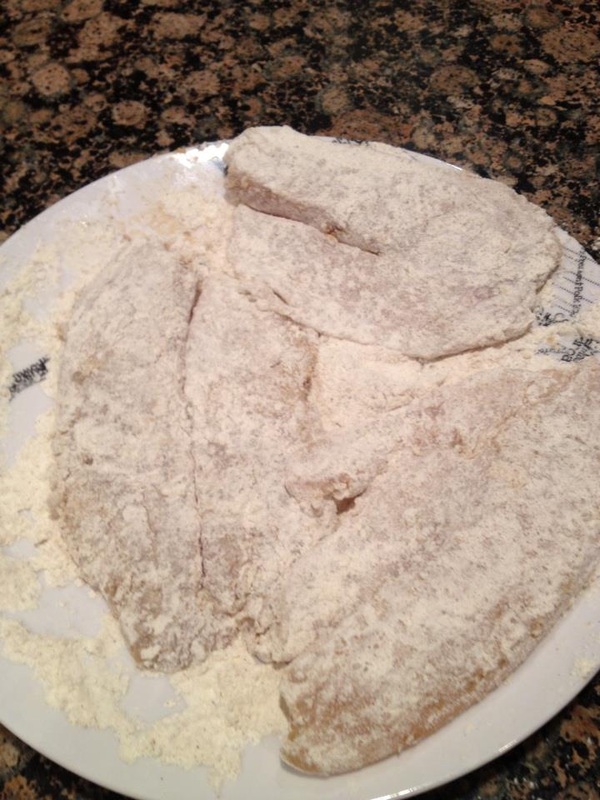
3. Coat the fish lightly on both sides with flour mixture, set them aside to rest for a few minutes.
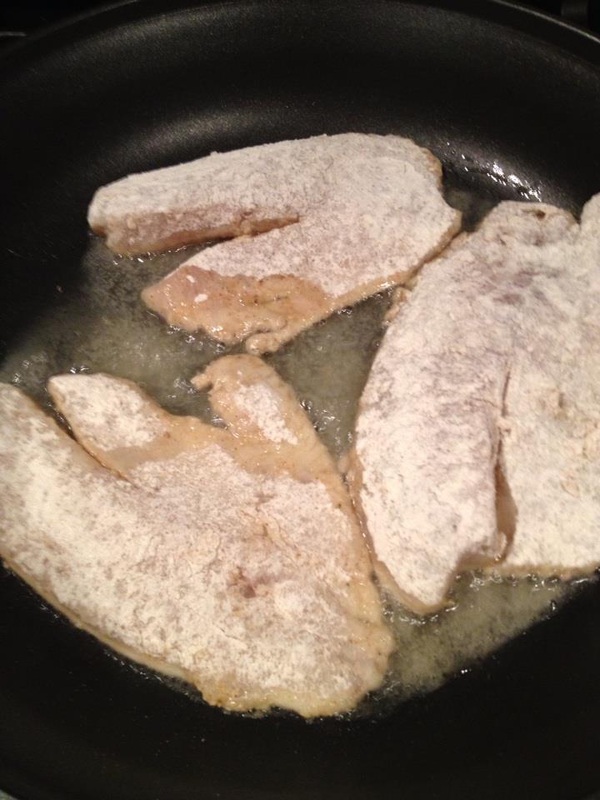
4. In a large pan or skillet over medium heat, add canola oil. Once the oil heats up, add the Tilapia filet. Cook for about 2-3 minutes on each side until they become golden brown and lightly crispy.
5. Serve immediately with vegetables, rice, and who knows whatever else you want. Squeeze a spritz of lemon over the fish. Now enjoy your dinner and relax!!
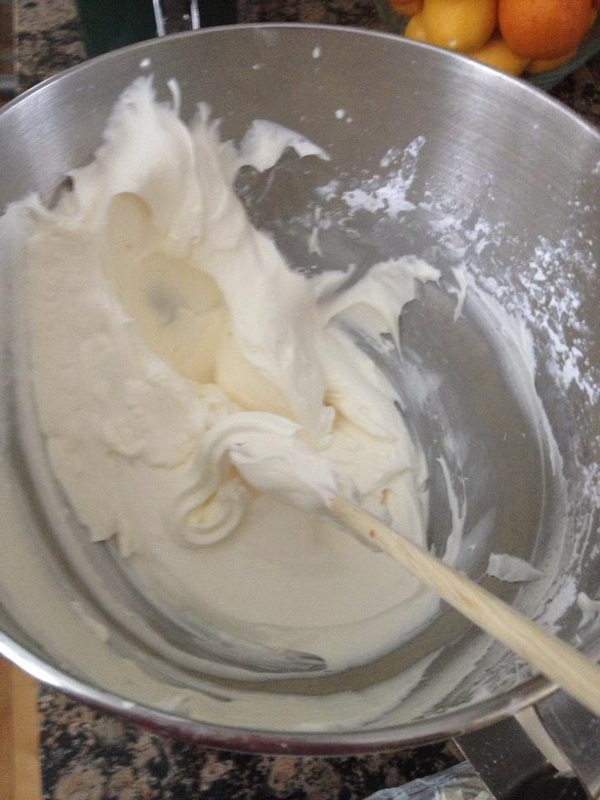
This frosting is so light and yummy. I love it so much that I eat it with a spoon. It's not too sweet so I can eat more of it. The more frosting there is, the happier people there are. The government should use this strategy to keep the people happy.
Ingredients:
1 8 oz. of cream cheese (room temp.)
1 cup of very cold heavy cream
2 cups of powdered sugar
1 tsp of vanilla extract
How to:
1. Chill your mixing bowl for about 15-20 minutes.
2. Add cream cheese and beat at the medium to high speed until it becomes light and fluffy.
3. Add heavy cream and continue to beat until the mixture blend very well together. It will become light and fluffy again.
4. Add powdered sugar gradually, then vanilla extract and continue beating until everything is well combined.
5. The result is a very light and fluffy frosting.
6. If possible, frost your cupcakes immediately so you get to eat them real soon.
7. Make sure the cupcakes are completely cool before frosting them.
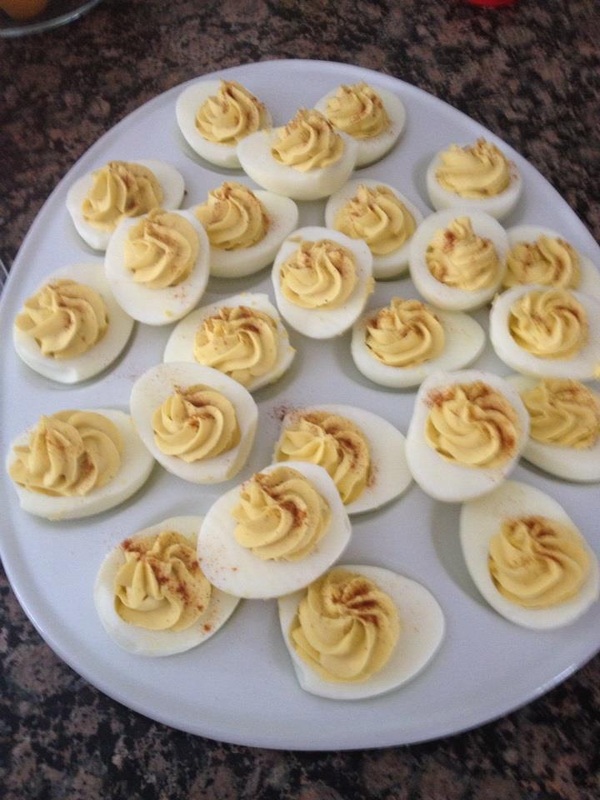
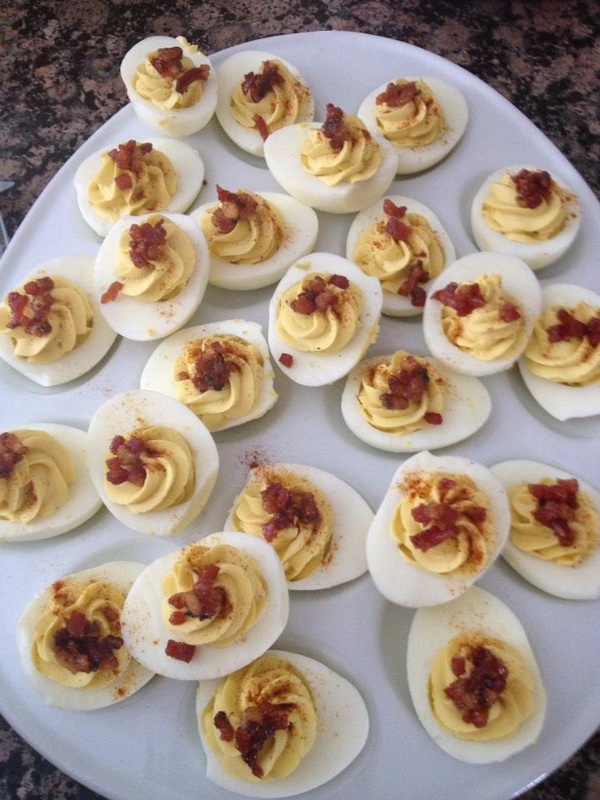
This is a very yummy and sophisticated deviled egg....I say so. The candied ham makes it way more delectable. This recipe requires no brain.
Ingredients:
12 hard boiled eggs (peeled & rinsed)
1/4 cup of good mayo
1 tsp of yellow mustard
salt & pepper
candied ham
paprika
How to:
1. Cut the hard boiled eggs in halves, set them aside.
2. Remove the yolks and place them in a medium size bowl.
3. Add mayo, mustard, salt, and pepper. Mix well with a fork until the yolk mixture becomes smooth.
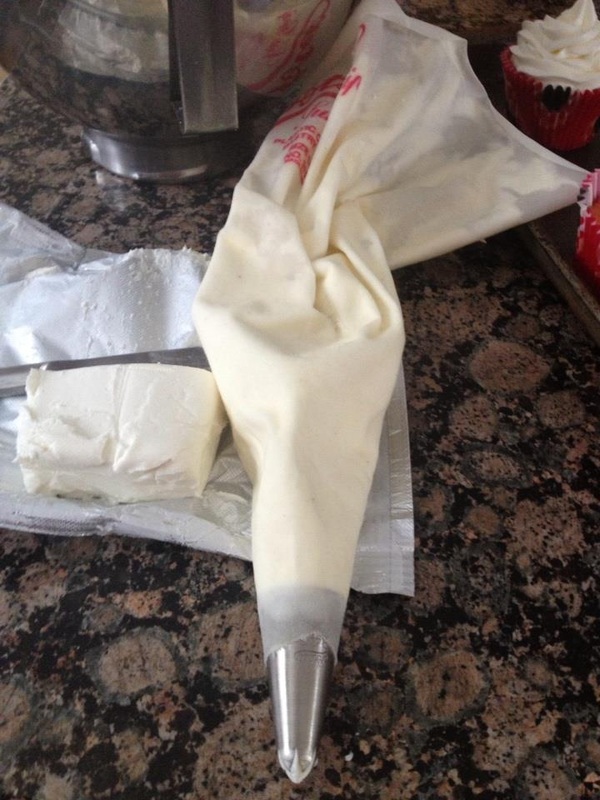
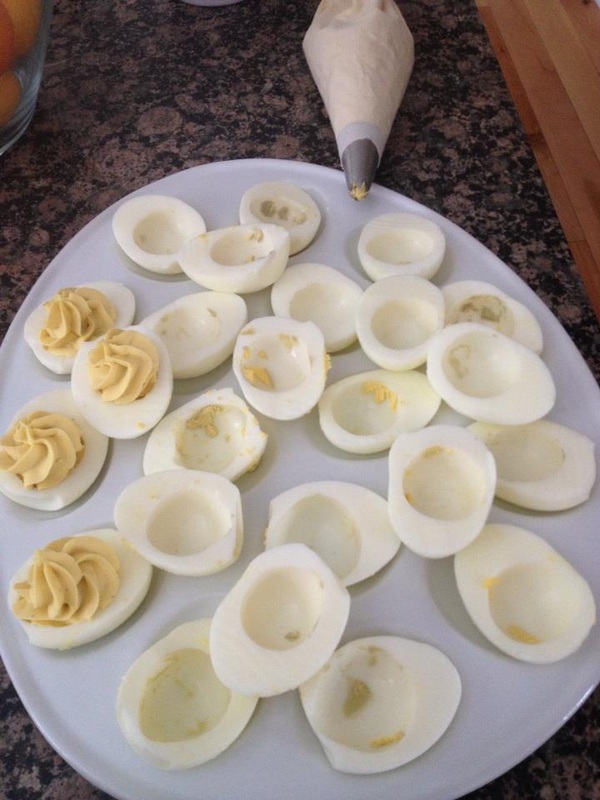
4. Scoop the yolk mixture back in the egg whites with a spoon. I prefer piping it because it looks much prettier, don't you think.
5. Sprinkle the devilish eggs with paprika and top them with candied ham.
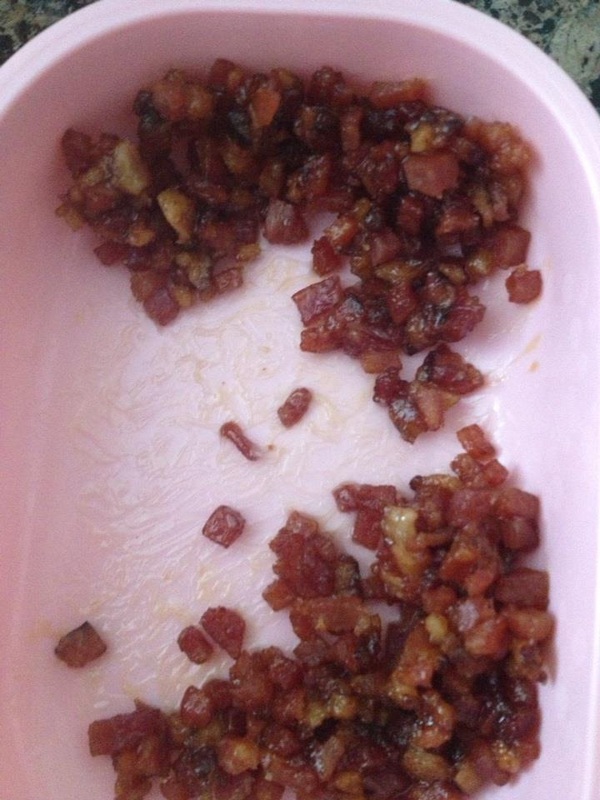
Candied Ham
Ingredients:
1 cup of finely diced ham
1 tbsp of brown sugar
1 tsp of canola oil
How to:
1. Over a medium heat in a small skillet, add the canola oil. Let the oil heat up a bit, add the ham, then toast it for about 5 minutes until it becomes slightly crispy.
2. Reduce the heat to medium low. Add the brown sugar to the ham and continue cooking until the sugar dissolves. The ham will become darker and sticky. Remove it from heat.........done!
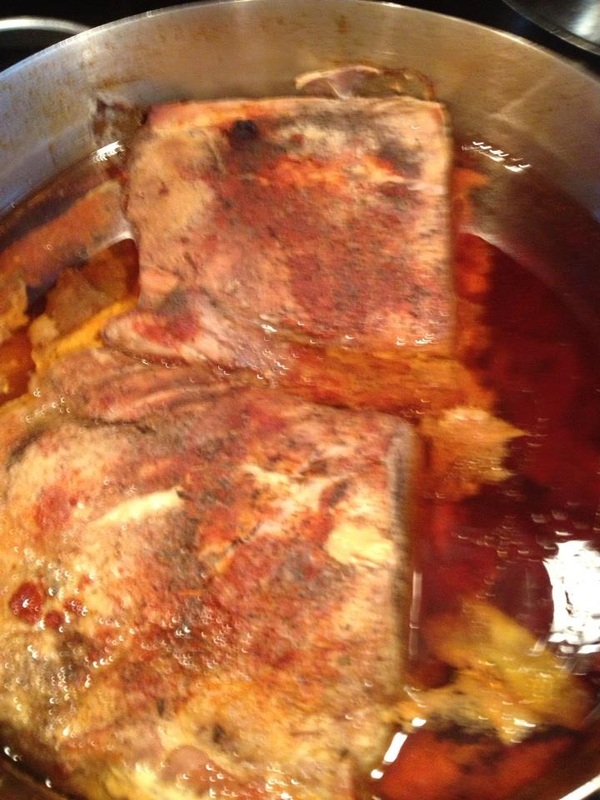
I made this pulled pork for the New Year's Eve party at my house. It was so easy to make. Stick it in the oven, walk away...the pork is yours. I definitely prefer this cooking method to a slow cooker....definitely forever.
Ingredients:
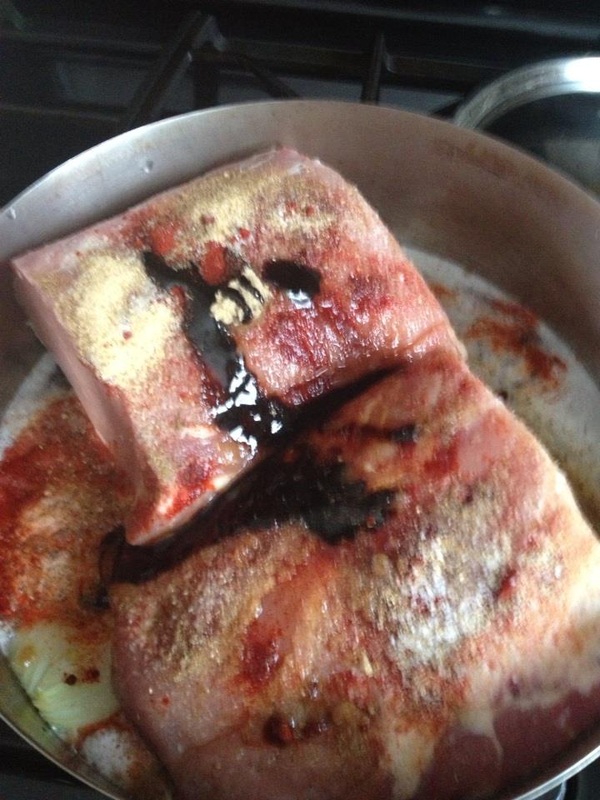
5-7 pounds of pork butt (pork loin works too but you'll need the piece with some fat attached)
1 large onion (quartered)
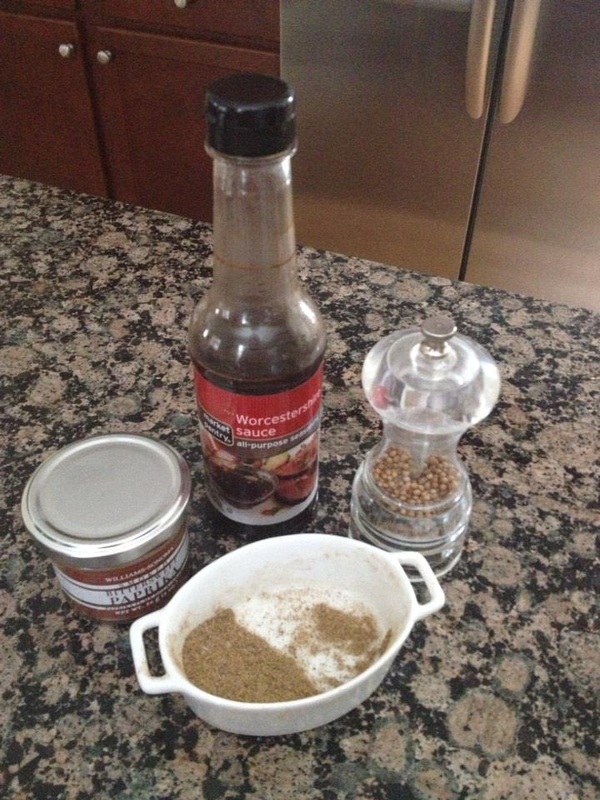
2 tsp each of salt & black pepper
2 tbsp of brown sugar
2 cans of soda pop
2 tbsp of Worcestershire sauce
1 tbsp of sweet paprika
tsp of ground coriander
2 tsp of ground celery or celery salt (if using celery salt, reduce the regular salt to just a tbsp)
How to:
1. Preheat the oven to 300 degrees Fahrenheit.
2. In a large heavy bottom stock pot, place the pork, onion, and the rest of the ingredients.
3. Position your rack where the pot will be located right in the middle of the oven. I mean neither the bottom or the top of the pot is too near the oven wire. Man...lots of explanation!
4. Flip the pork a couple of times during the 5.5-6 hours of cooking.
5. When the time is up, take the pot out of the oven.
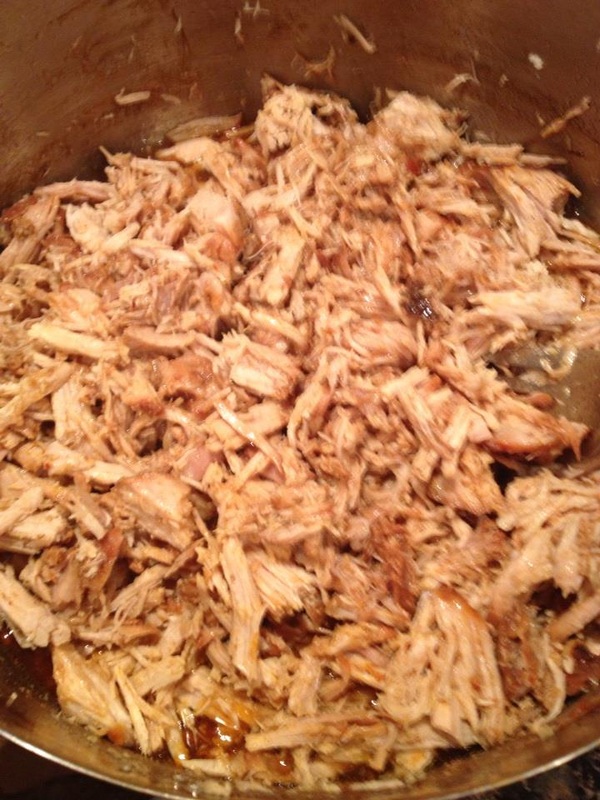
6. Remove the pork and put it in a big bowl, then shred it with a big fork. It should be extremely easy to shred.
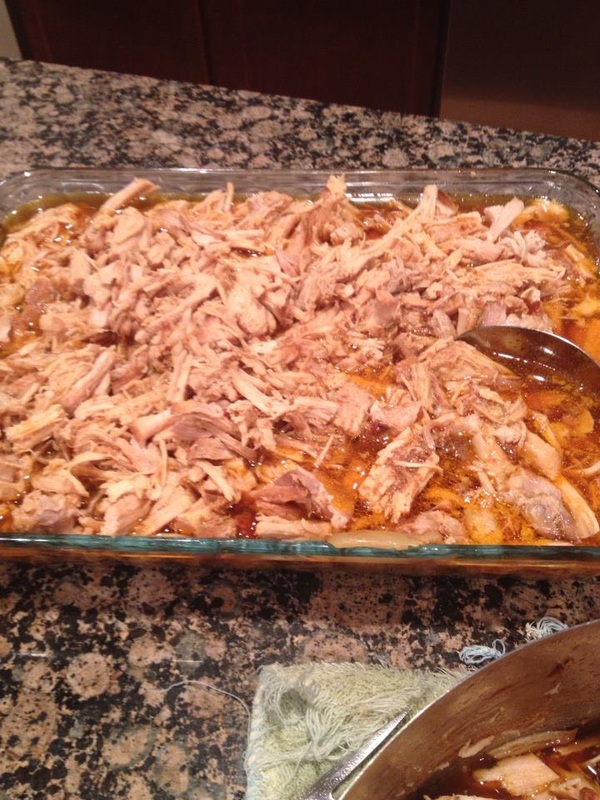
7. Once the pork is completely shredded, put it back in the pot, let it sit in the juice. This will keep it moist and more flavorful.
8. Now find a bun or two make yourself sandwiches, sprinkle the pork with some bbq sauce if you'd like. I prefer eating it naked...I mean naked pork with no bun.
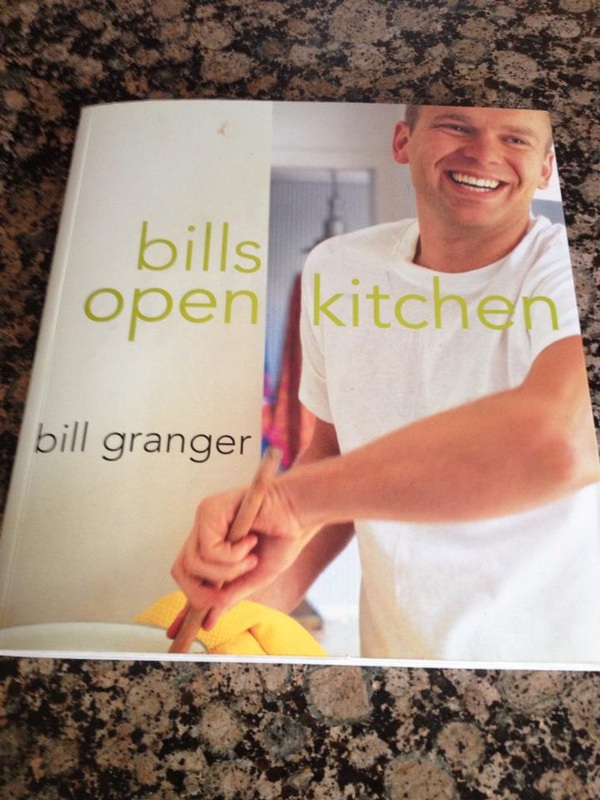
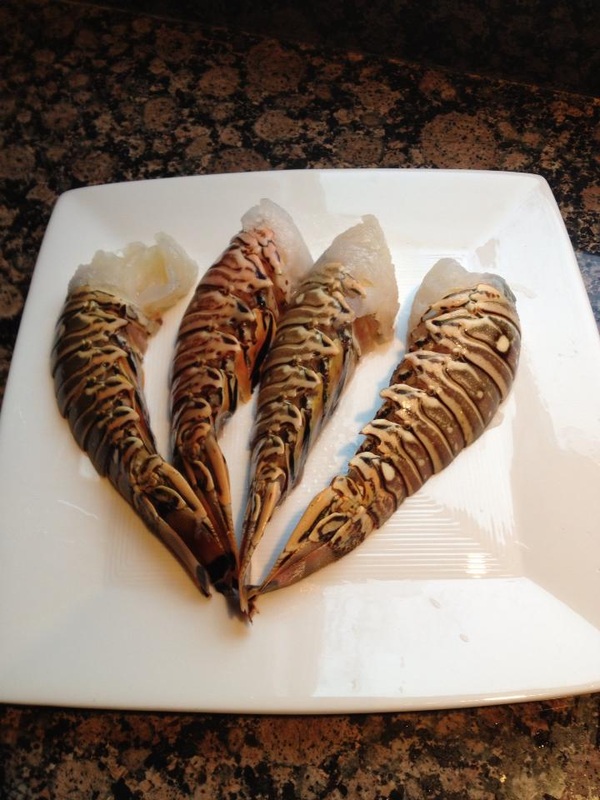
My mother in law came across this recipe from a favorite cookbook of mine. It's called "bills open kitchen" by Bill Granger, a famous Australian chef. His cooking style is simple, yet elegant and delicious. I just love his down to earth attitude with food...so relaxing. This dish played a major role at our lovely Christmas dinner table.
Ingredients:
4 uncooked lobster tails
Juice of 1 large lime
3 tbsp butter
2 tbsp olive oil
Salt
Ground black pepper
How to:
1. Preheat the oven to 475 degree F.
2. In a small saucepan over a medium heat, heat the lime juice, add the butter & a pinch of salt, and whisk until the butter is melted and thickened.
3. Set aside.
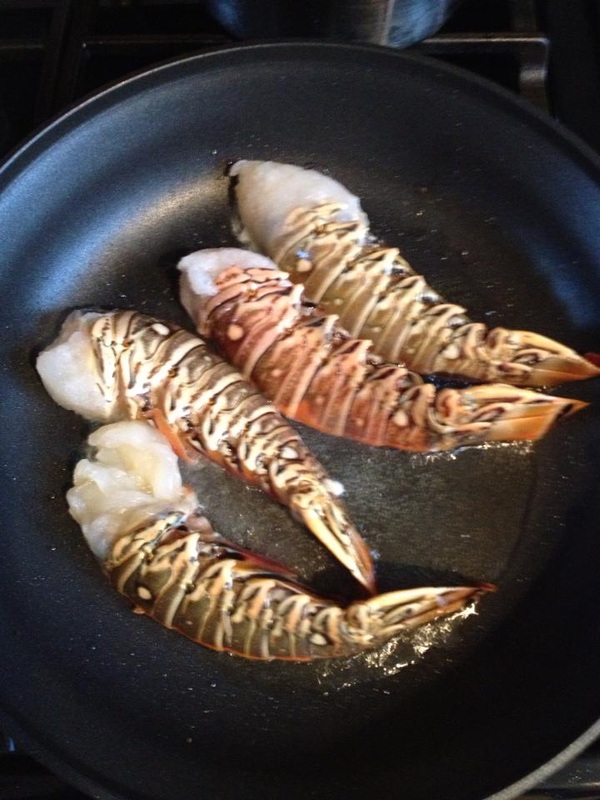
4. Sprinkle the lobster tails with a little bit of salt and pepper. In an oven-proof large frying pan over a high heat, add the olive oil and place the lobster tails cut side down. Sear them for about 2 minutes.
5. Spoon some of the lime butter over the lobster cut side up.
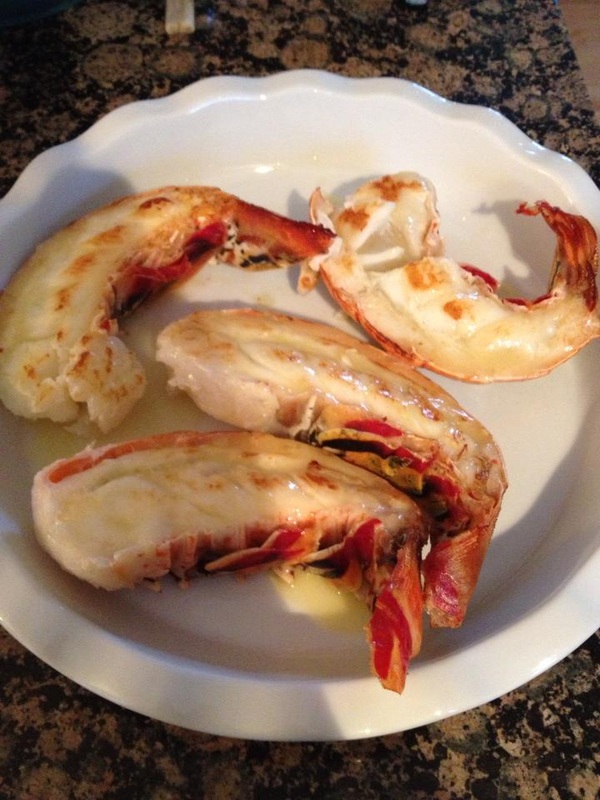
6. Put the pan in the oven and let the lobster roast for about 12-15 minutes or until the flesh is opaque.
7. Spoon the rest of the lime butter over the lobster tails.
8. Indulge them and be thankful.
This is the easiest, most fool-proofed, most fabulicious, most gorgeous, most beloved, most mother-in-law approved, most arse kicking and awesomest prime rib recipe ever! I was scared at first because I didn't want to eat raw prime rib. I like mine medium rare. I prayed as my husband was slicing the meat, and my prayer was answered. Trust me, give it a try.
Ingredients:
5-6 pounds of prime rib
2 tbsp kosher salt
1 tbsp ground black pepper
2 tsp garlic powder
2 tsp of herbs de provence
How to:
1. Let the meat sit on the kitchen counter for about 2-3 hours.
2. Preheat the oven to 500 degree F.
3. Combine salt, pepper, garlic powder, and herbs de provence together. Rub the meat with the herb mixture evenly, be generous. This is not the time to be stingy, got it?
4. Roast the meat in the preheated oven for 30 minutes, then turn the oven off (with the oven door closed). Let it roast for another 2 hours and 15 minutes.
5. Remove the meat from the oven, cover with foil and let it sit for another 15 minutes.
6. Now slice the meat and....................bam.....the most perfect PRIME RIB.
7. Be thankful for the recipe.
8. Be happy and share it with your loved ones.
9. Mean people don't deserve this prime rib...not even the fat drip.
 I prayed as my husband was slicing the prime rib. | 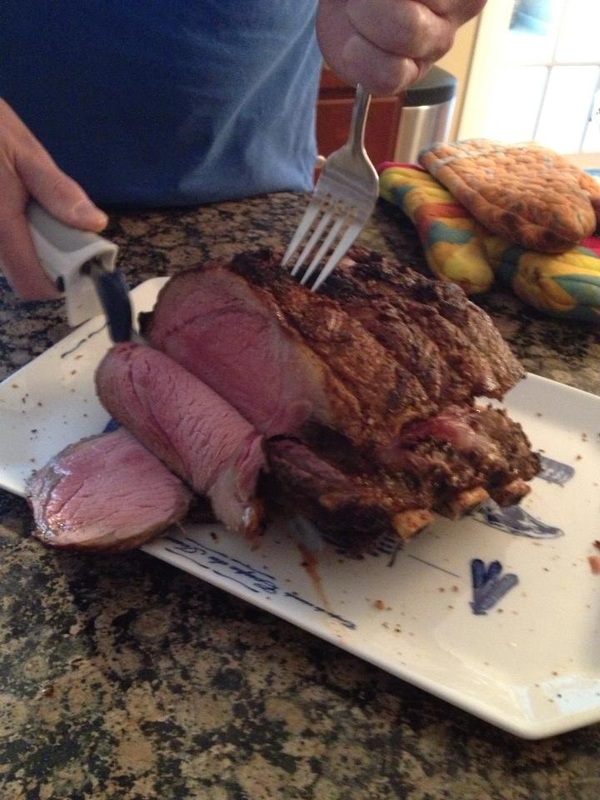 My prayer was answered. | 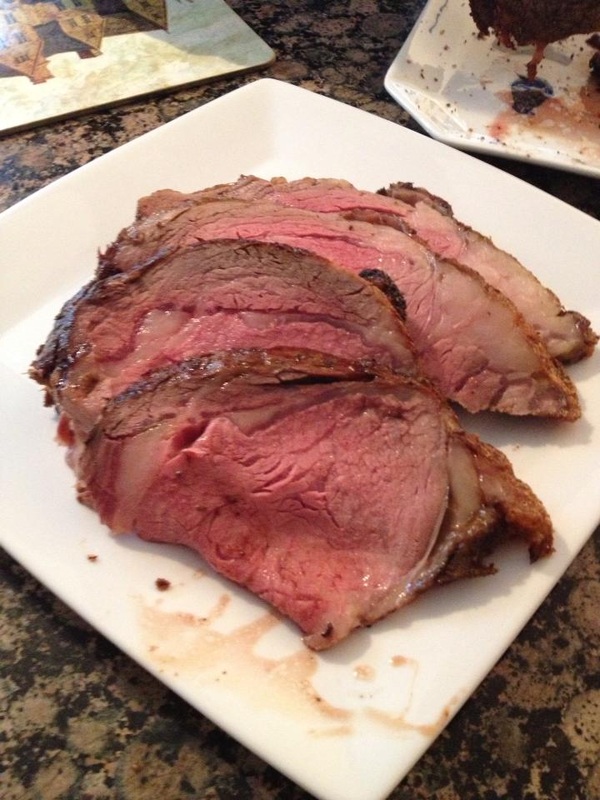 Happiness
This is a Kindergarten level sushi rolls, they are great to get by when there's no great sushi bar around. They look great and taste great. BTW, Calidelphia stands for California/Philadelphia.
Ingredients:
5 cups of ROOM TEMPERATURE cooked sushi rice (Nishiki or Botan)
2 tbsp of granulated sugar
3 tbsp of rice wine vinegar
2 tsp of salt
1 package of sea legs a.k.a. immitation crab legs cut them into long match sticks
1 cucumber peeled and cut into long matchsticks
1 carrots peeled and cut into long & thin matchsticks
1 8 oz of Philadelphia cream cheese cut them into long & thin
1 Package of Roasted Seaweed Sheets (Nori Sheets)
Dipping Sauce:
Kikkoman soy sauce
Wasabi paste
How to:
1. Add sugar, rice wine vinegar, and salt to rice. mix well. Set aside.
2. Check out the step by step photographs below on how to assemble the Calidelphia Rolls.
3. Call me if you have any questions or concerns.
4. Gosh!! Stop being so frustrated and give it a try.
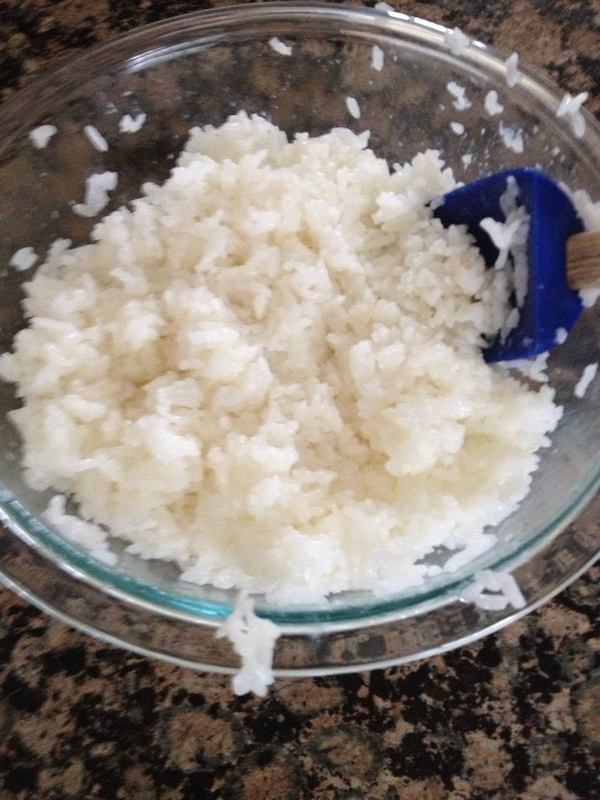 1..Season the rice with sugar, vinegar, and salt | 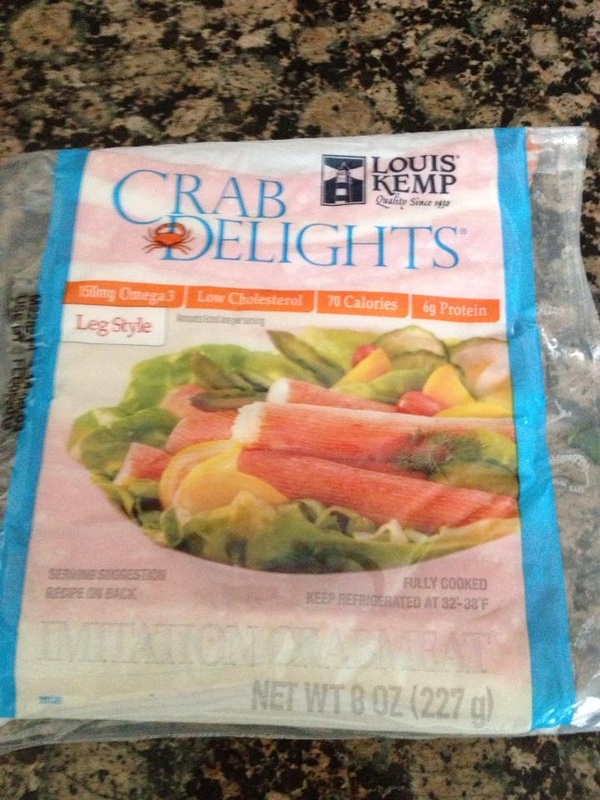 2. Sea legs | 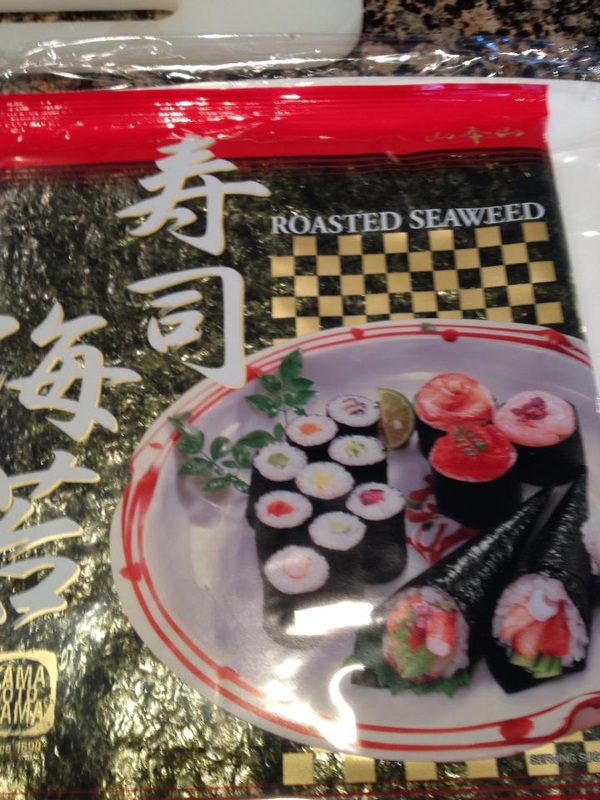 3..Seaweed (Nori) sheets | 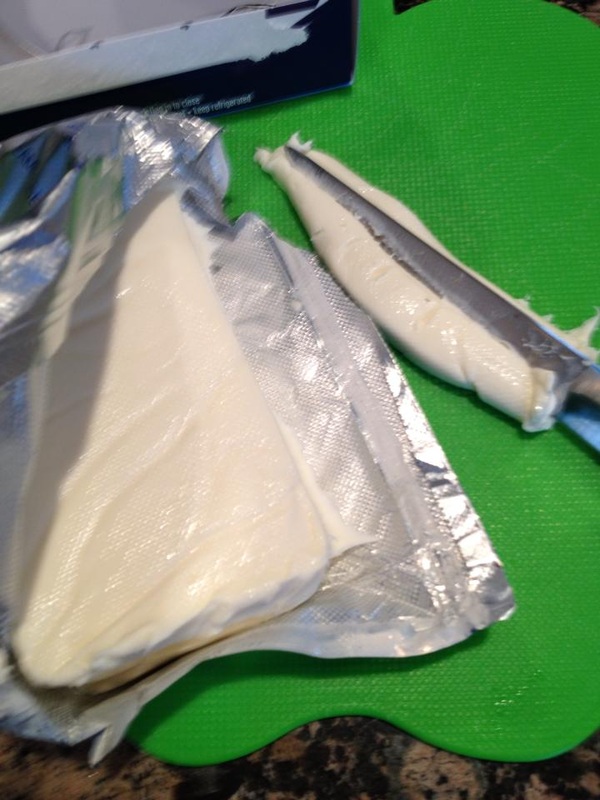 4. Philly Cream Cheese | 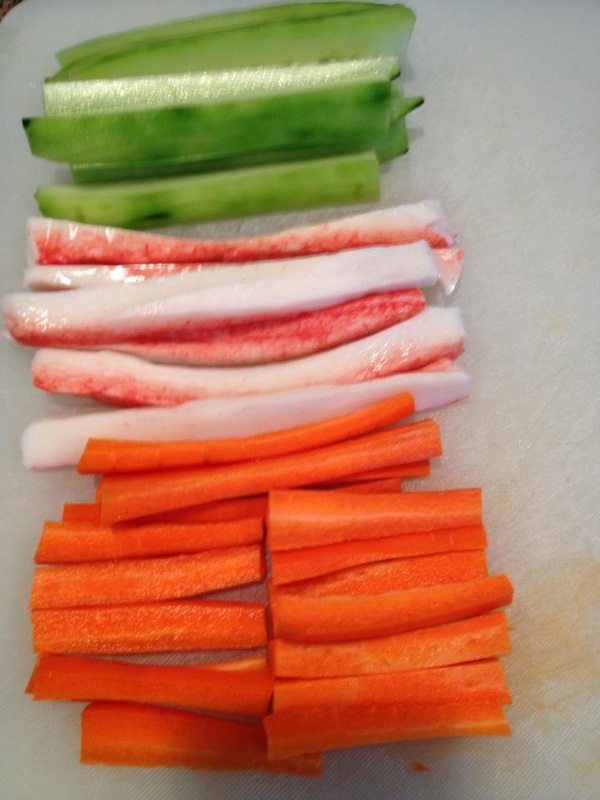 5. Strips of cucumber, sea legs, and carrots | 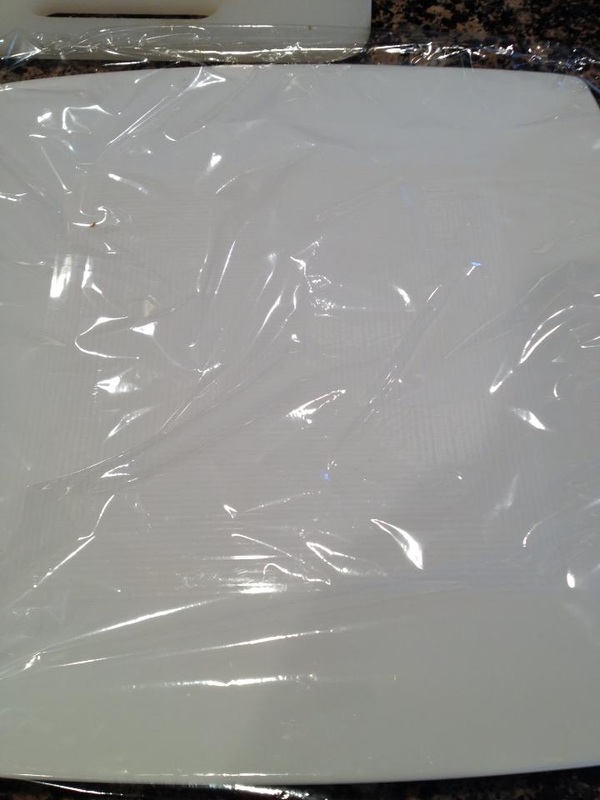 6. Lay a sheet of plastic wrap over a plate | 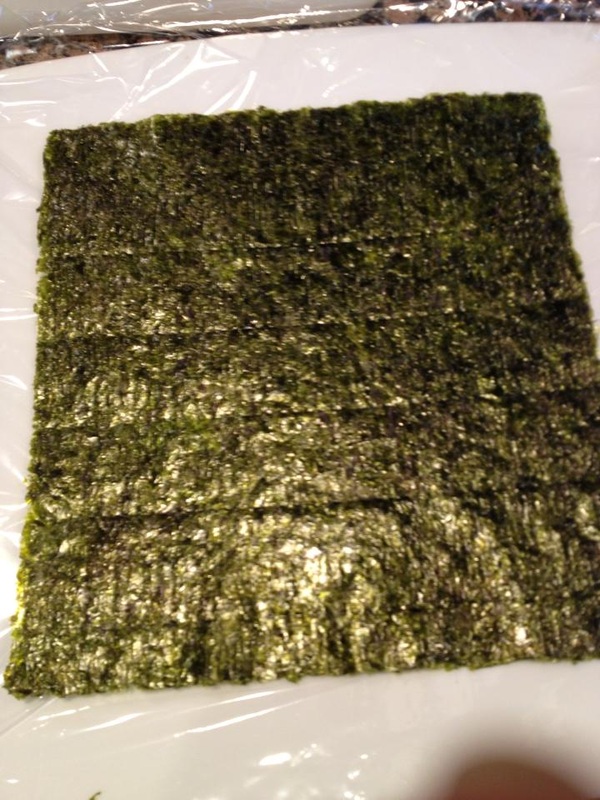 7. Lay a seaweed sheet over the plastic wrap, rough side up as it appears in this photo, NOTICE.....I don't have a bamboo mat!!! | 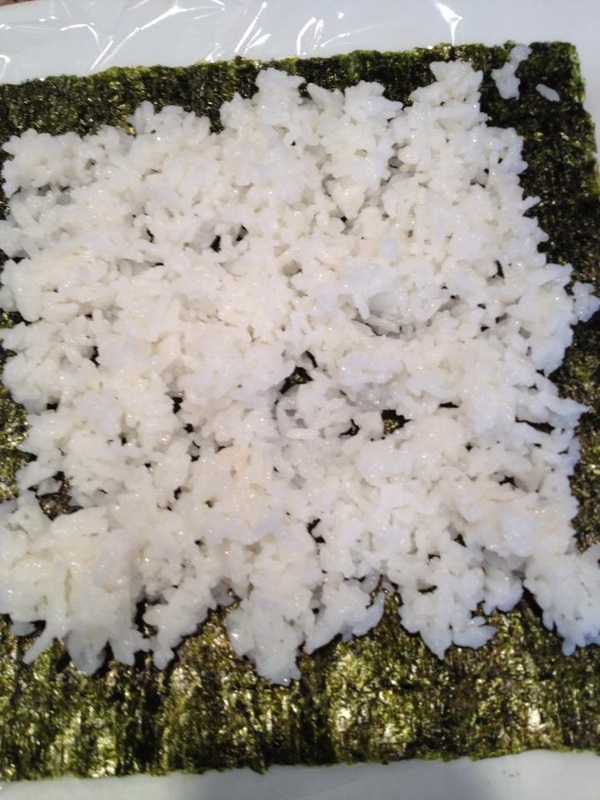 8. Spread the seasoned rice over the seaweed sheet | 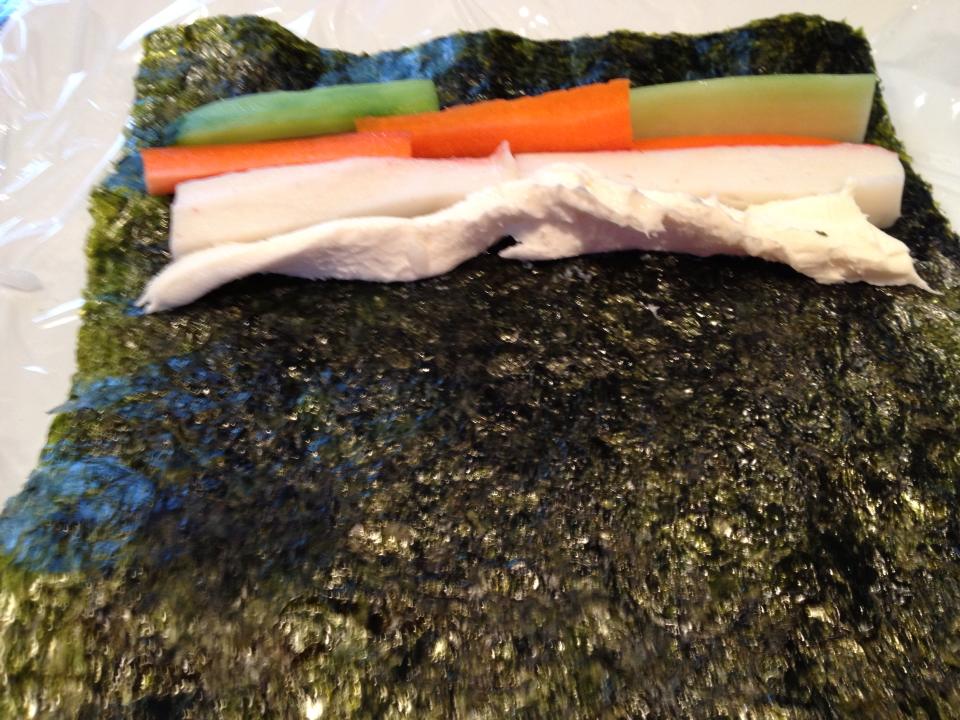 9. Flip over the sheet with the rice side out, lay strips of veggies and sea legs over the seaweed | 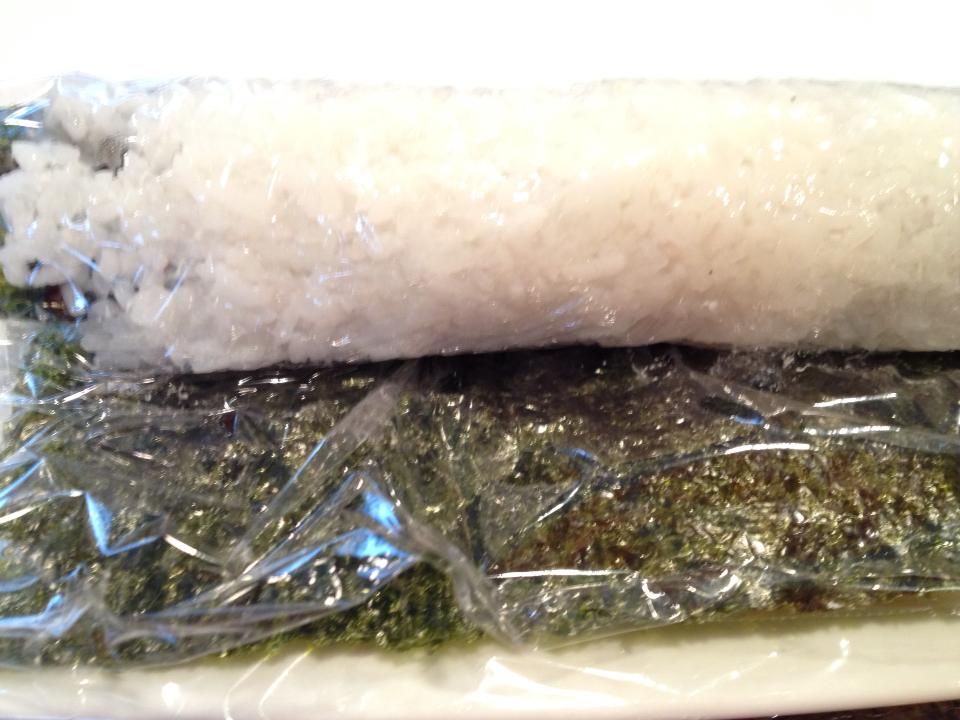 10. Roll the sushi tightly, this is a white roll. | 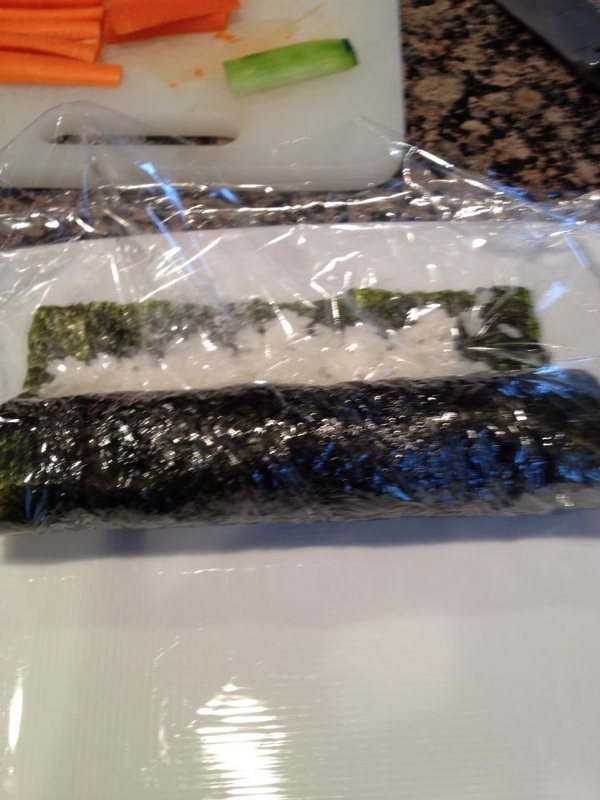 11. If you'd like a dark green roll, after spreading the rice over the seaweed, lay strips of veggies and sea legs over the rice. | 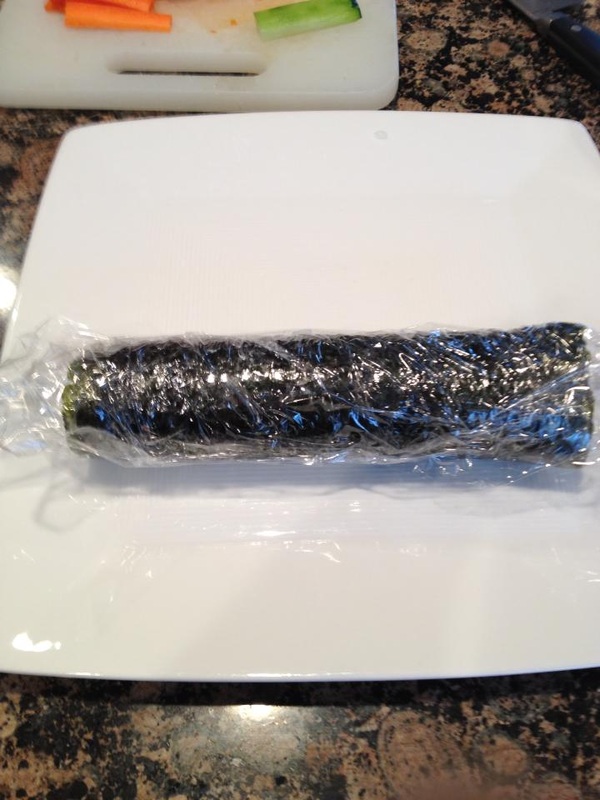 12. Again, roll the sushi tightly, this one is the dark green roll. |  13. Remove the plastic wrap, cut the Calidelphia rolls into bite size pieces |  Serve your Scrumptious Calidelphia rolls with Kikkoman soy sauce and wasabi paste |
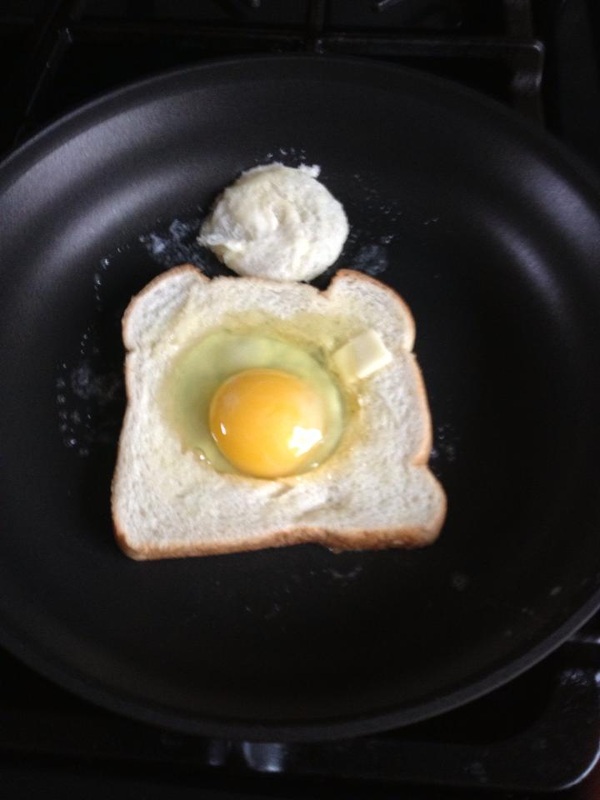
This is my daughter's favorite breakfast as long as the toad is not overdone. Easy & fun to make!! If you don't like a toad, a frog will do.....BUT if you prefer a bullfrog, you'll need a huge slice of bread such as a Texas bread.
Ingredients:
2 slices of white bread
2 toads a.k.a. eggs
butter
salt & pepper
How to:
1. Heat a medium non-stick skillet over medium heat.
2. Butter both sides of the bread. With a round cookie, remove the center of the bread.
3. Place the bread and its circle piece in the heated skillet and toast them until lightly toasted.
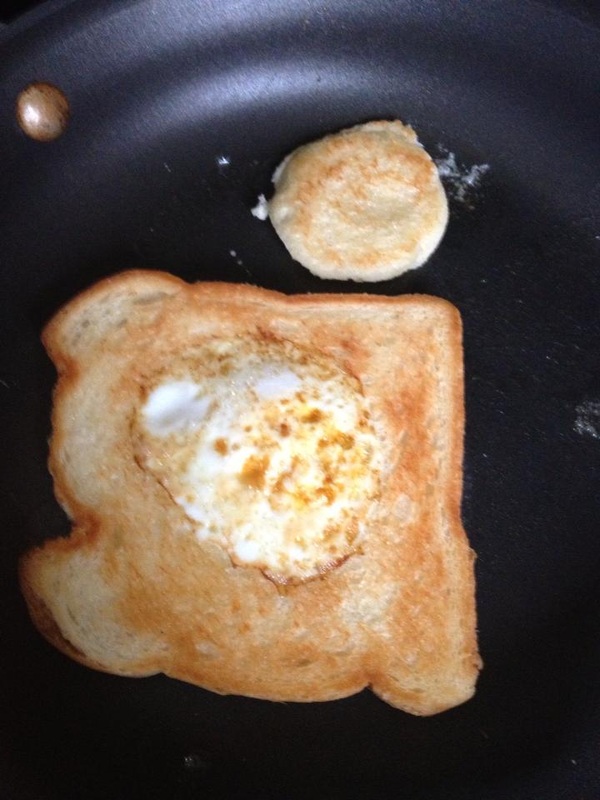
4. Crack the egg into the bread hole, cook the egg until it is done to your like
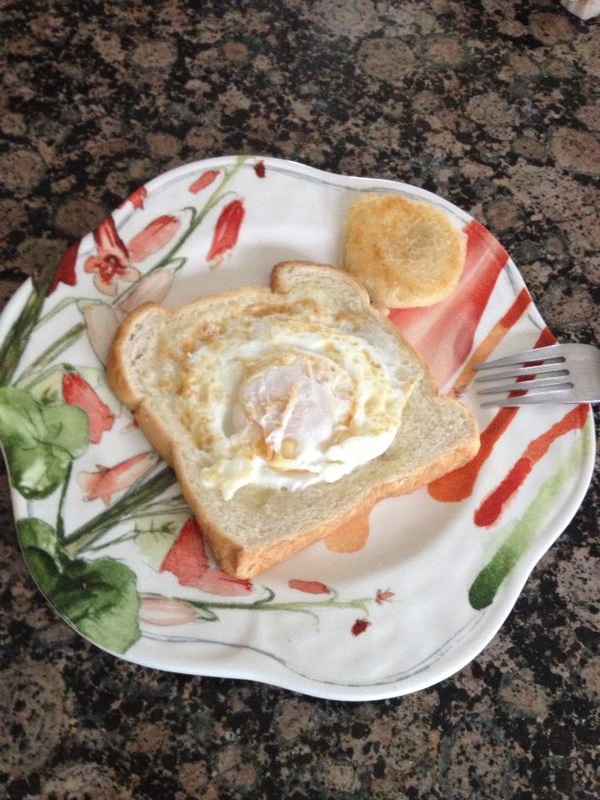
5. Sprinkle with salt & pepper.....ENJOY!
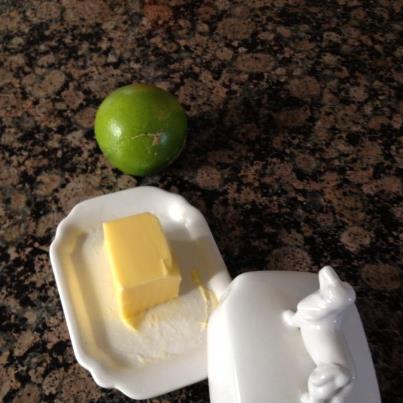
 My Favorite Butter | 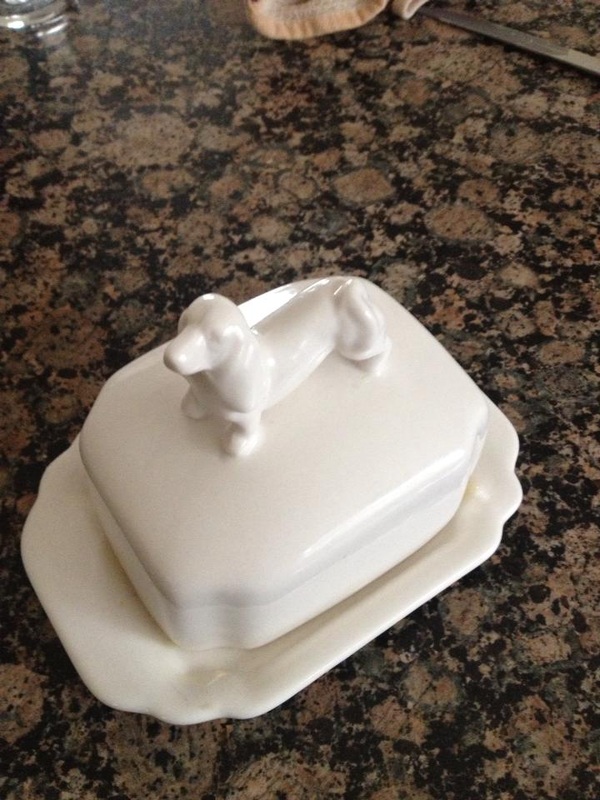 My Favorite Butter Dish | 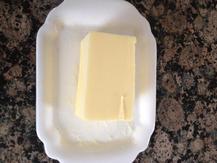 Golden Irish Butter |
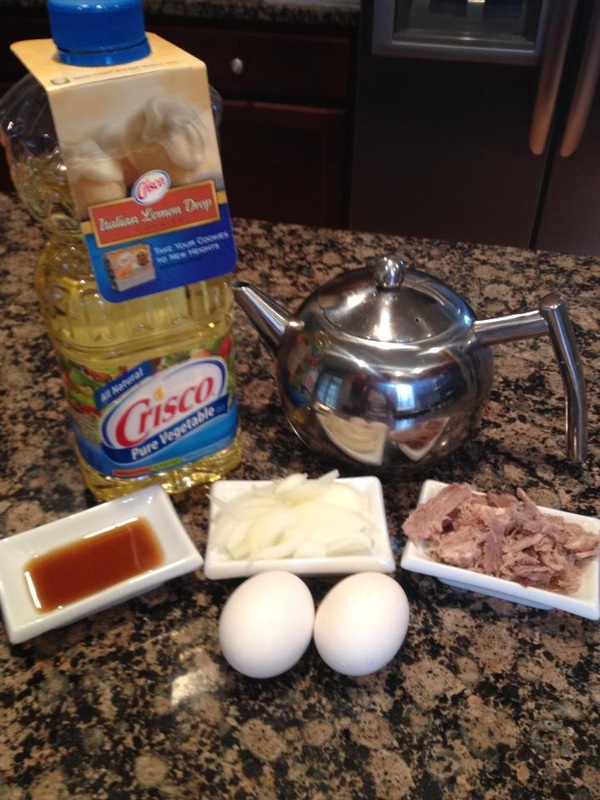
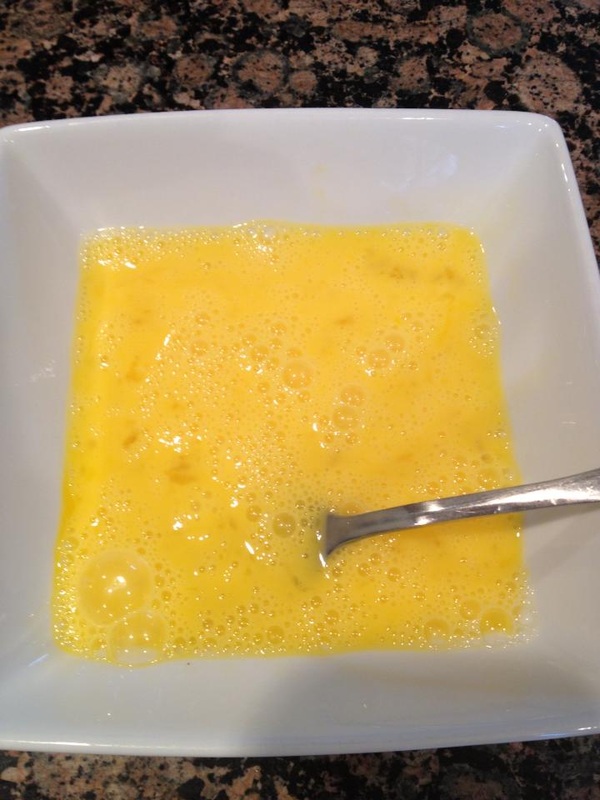
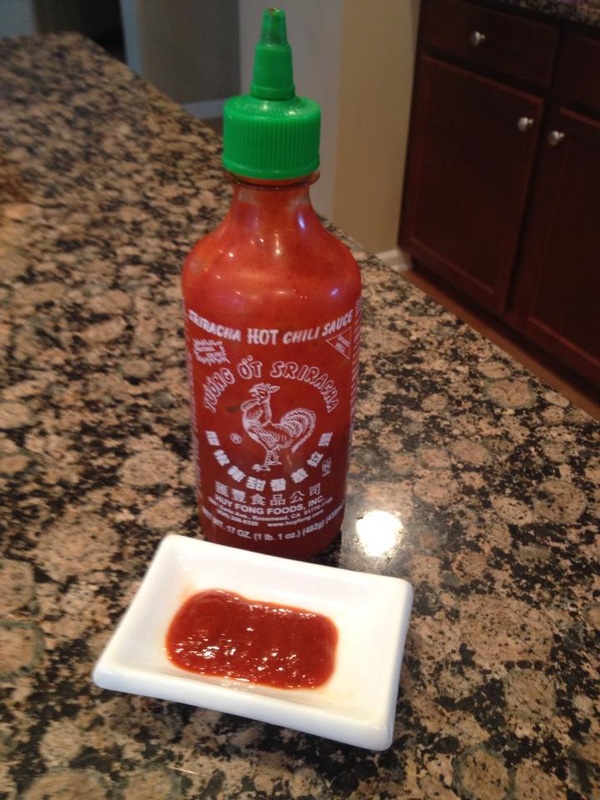
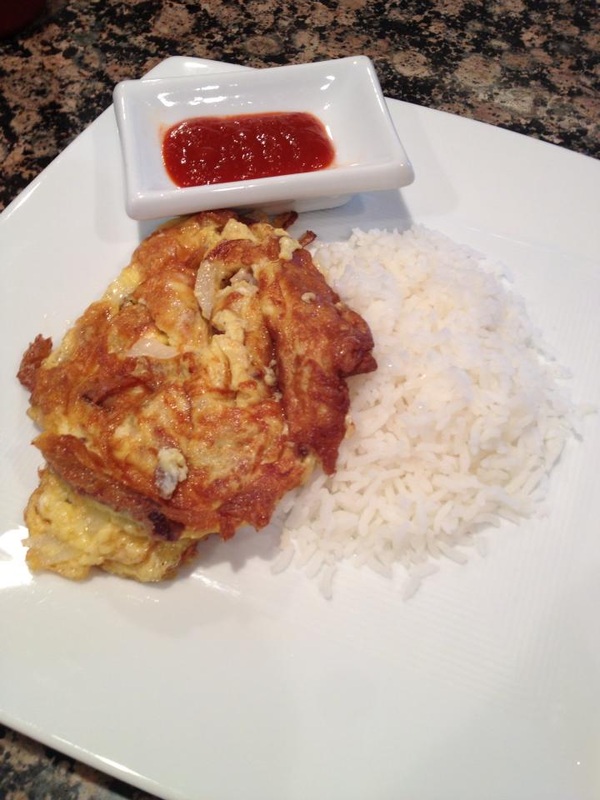
Thai omelette is a comfort food to a Thai person, exactly like mac&cheese to an American. This cooking process takes less than 10 minutes, make sure you have hot cooked rice around. Warning! Keep your kitchen windows opened or your kitchen will stink for a couple of hours.
Ingredients:
2 Large eggs
2 tsp of light soy sauce
1 tbsp of water
1/2 medium onion (sliced thin)
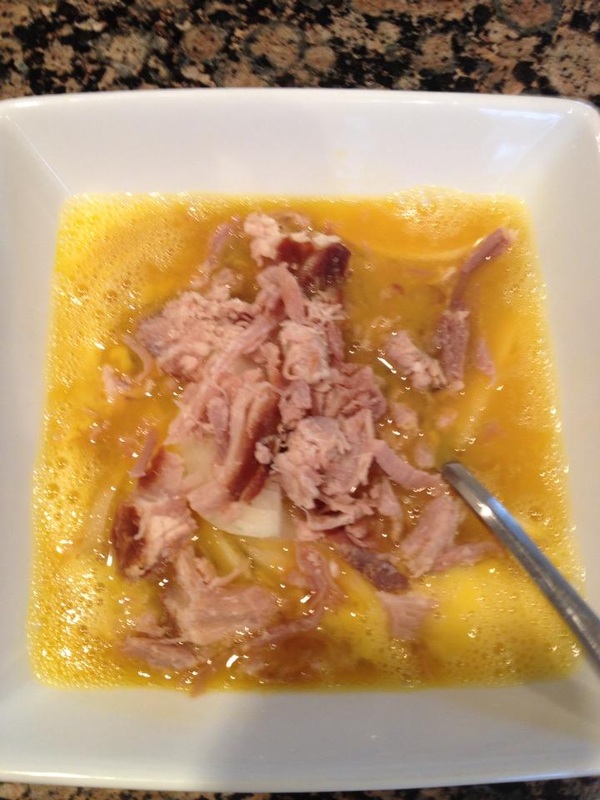
1/4 cup of shredded cooked pork
3 tbsp of veg. or canola oil
How to:
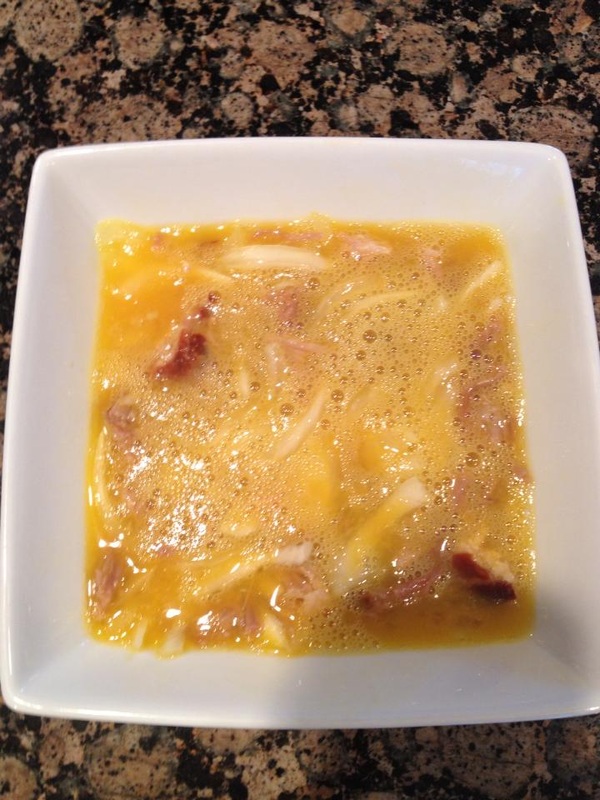
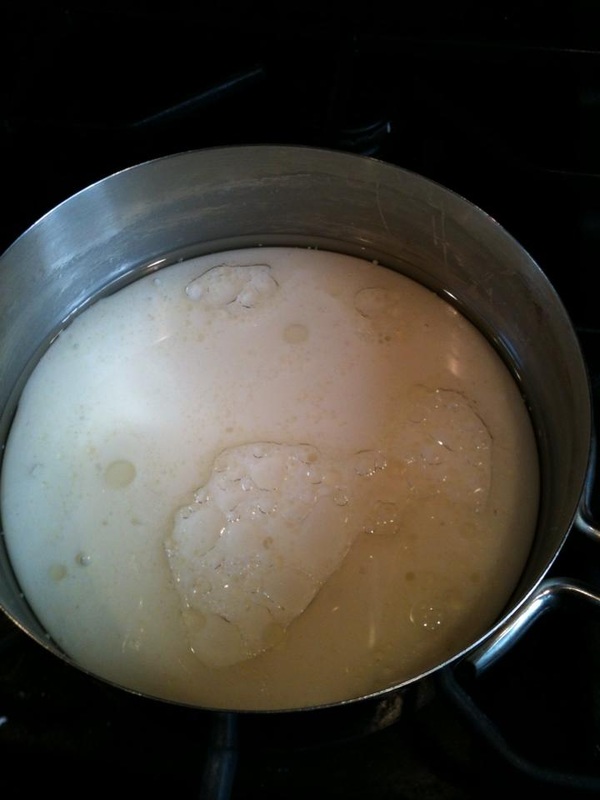
1. In a medium size bowl, crack the eggs, beat them well with a fork until the eggs become slightly foamy, add soy sauce, water, sliced onion, and pork. Continue beating all the ingredients very well together.
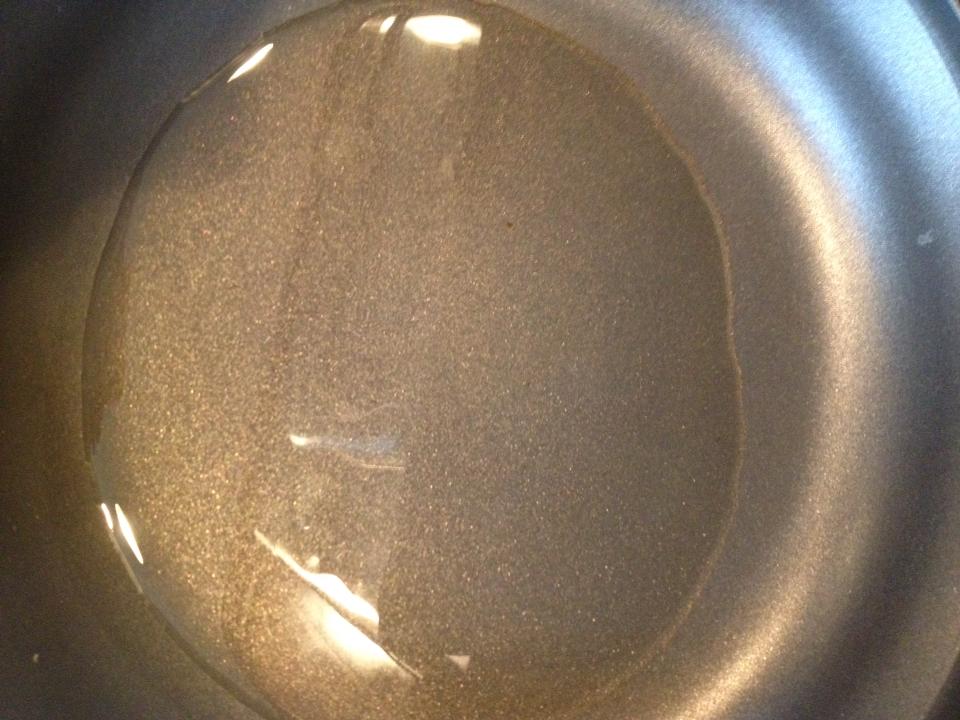
2. Over high heat, place a medium non-stick skillet or pan. Add oil, wait until the oil gets almost smokey hot.
3. Add the egg mixture to the hot pan, move the pan slightly to prevent the omelette from burning. Also, use a flat spatula to help move the eggs.
4. Once the bottom side of the omelette becomes golden brown, flip the other side over, repeat step 3
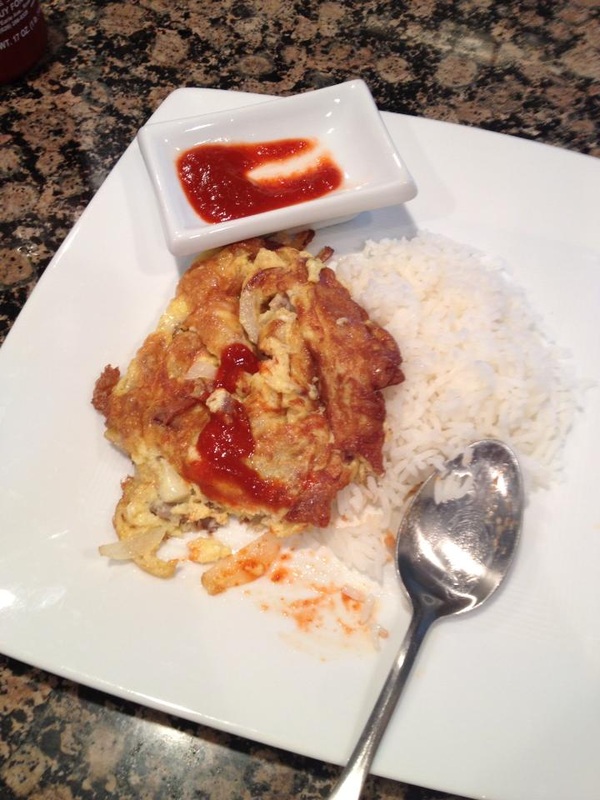
5. Serve with Sriracha hot sauce over hot cooked rice
The original recipe belongs to The Pioneer Woman, Ree Drummond. I made a few adjustments to suit my personality. However, I must give her all the credit. This is the best and the easiest recipe for cinnamon rolls. It' s a forever keeper.
Ingredients
1 pint of whole milk (evaporated milks works as well)
1/2 cup of vegetable oil
1/2 cup of white sugar
1 package of active dry yeast
4 1/2 cups of all-purpose flour
1/2 tsp (heaping) of baking powder
1/2 tsp (scant) of baking soda
1/2 tbsp of (heaping) of salt
1 stick of melted butter
1 cup pf white sugar
Generous sprinkling of cinnamon
Frosting:
1/2 bag of powdered sugar
1/4 cup of whole milk
2 tbsp of melted butter
1 tsp of vanilla
a pinch of salt
How To:
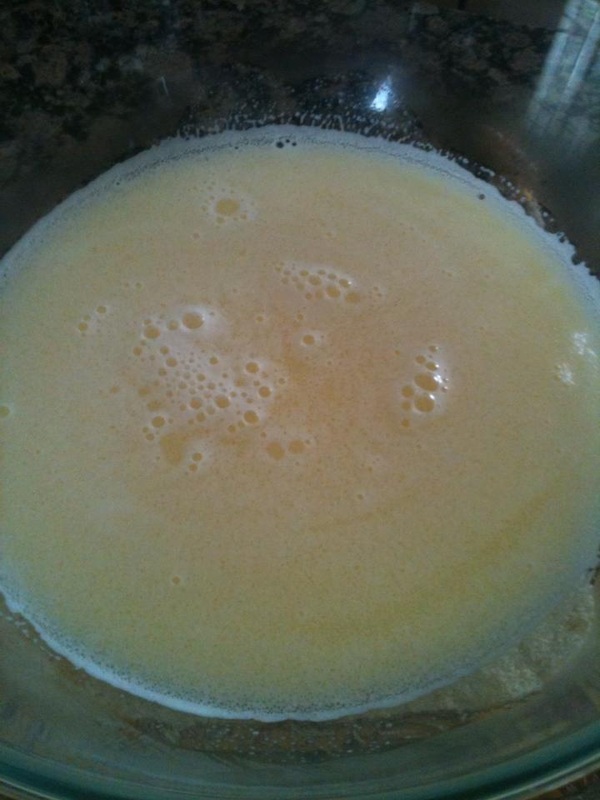
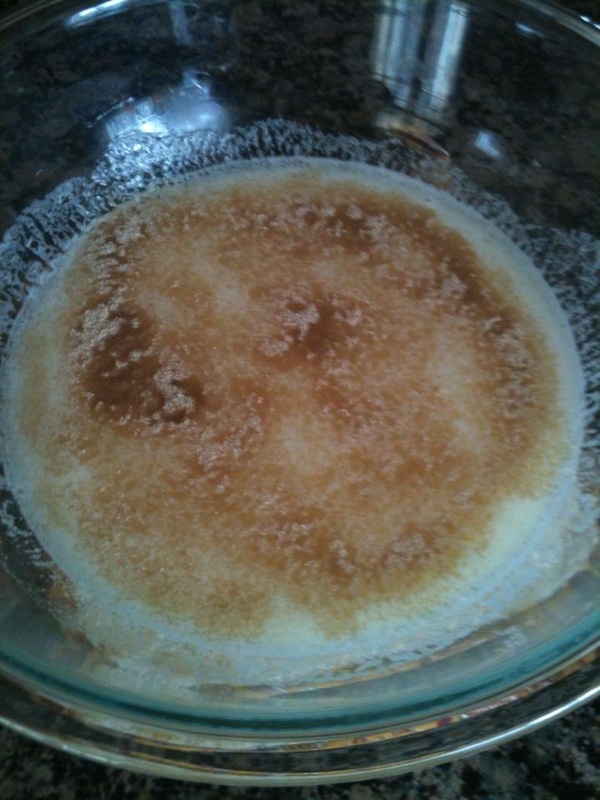
1. For the dough, heat the milk, vegetable oil, and sugar in a medium saucepan over medium heat to just below a boil. Set aside and cool to warm. Sprinkle the yeast on top and let it sit on the milk for about a minute.
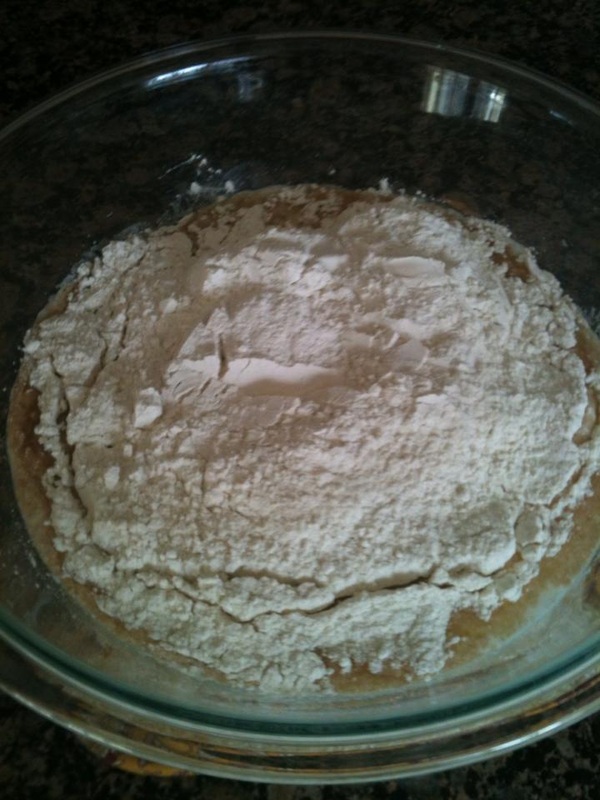
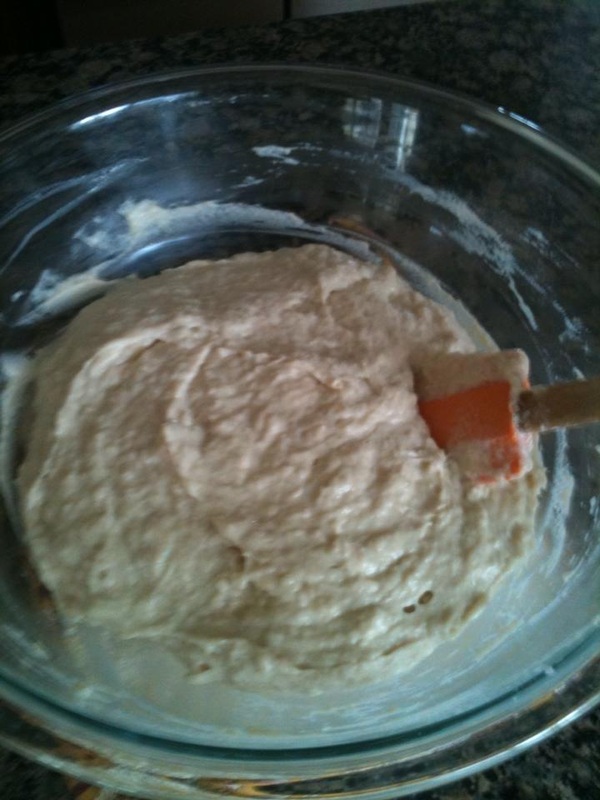
2. Add 4 cups of the flour. Stir until just combined, then cover with a clean kitchen towel, and set aside in a warm place for about an hour. (In the summer, a closed garage is the best place. In the winter, it's best to have the dough sits on top of a hot oven.)
3. After an hour, remove the towel and add the baking powder, baking soda, salt, and the remaining 1/2 cup of flour. Stir thoroughly well to combine. Use the dough right away, or place in a mixing bowl and refrigerate for up to 3 days, punch down the dough.
(Note: Dough is easier to work with if chilled for at least an hour.)
Preheat the oven to 375°F.
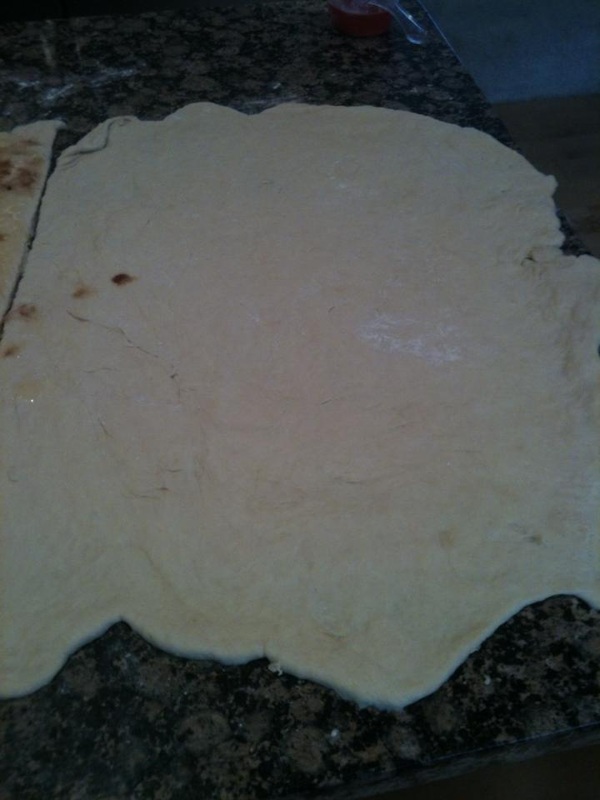
4. To assemble the rolls, remove half the dough from the bowl. On a well-floured baking surface, roll the dough into a large rectangle, about 15 x 5 inches. The dough should be rolled very thin.
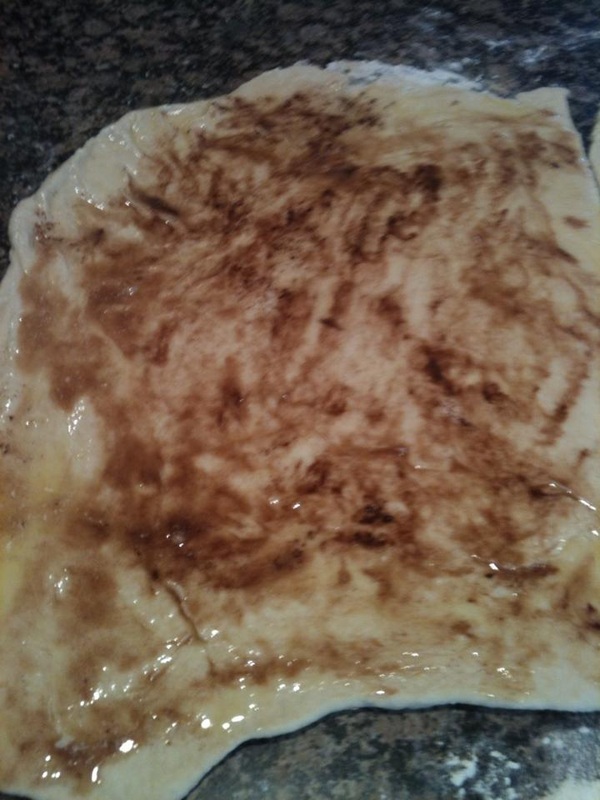
5. To make the filling, pour half of the melted butter over the surface of the dough. Use your fingers to spread the butter evenly. Generously sprinkle half of the ground cinnamon and 1/2 cup of white sugar over the butter.
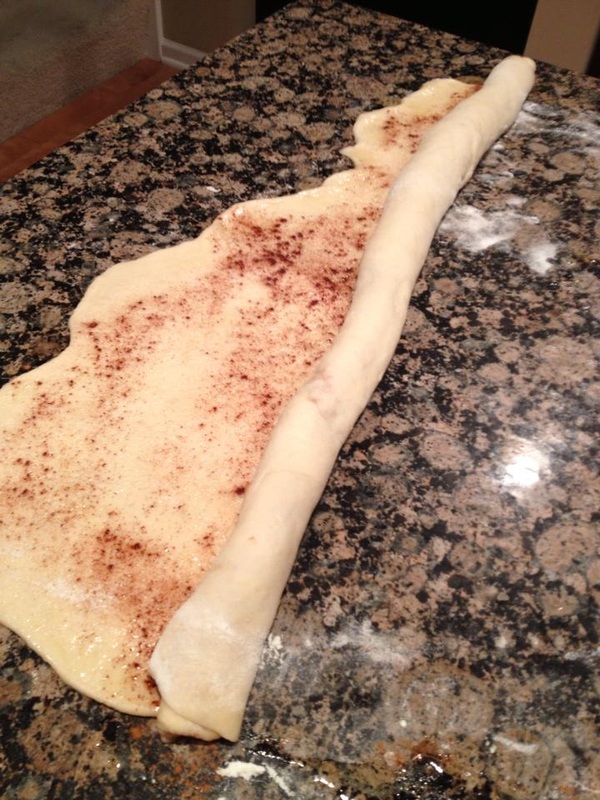
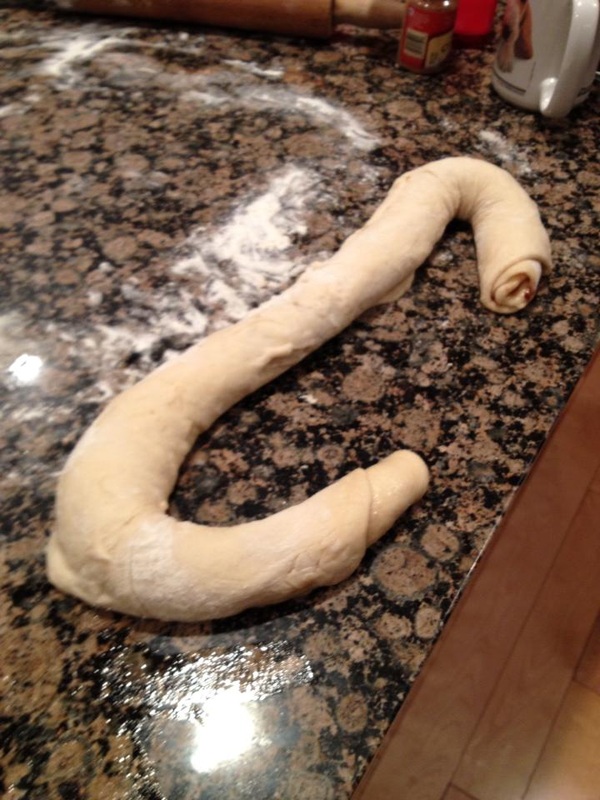
6. Roll the rectangle flat dough tightly towards you. Use both hands and work slowly, carefully keep the roll tight. When reaching the end, pinch the seam together. The dough log is now created.
7. Slice the log into 8-9 rolls. Place them into a pan (round, rectangle, or square pans will do.)
8. Repeat step 7 with the other half of the dough. Cover both pans with a kitchen towel and set aside to rise for about 30 minutes or longer before baking. Remove the towel and bake for 15 to 18 minutes, until golden brown. Don’t over bake the rolls.
Frosting
9. In a large bowl, whisk together the powdered sugar, milk, butter, salt, and vanilla. Whisk until smooth. The icing should be thick but you should still be able to pour it.
10. Remove pans from the oven. Immediately drizzle icing over the rolls (do NOT wait for the rolls to cool down), the rolls will absorb the icing very nicely.
11. Serve hot or warm as you'd like, again they're the easiest & the bestest rolls I've ever made.
Forgive me for missing some of the photos, once I make it again (very soon), I will be sure to add them!
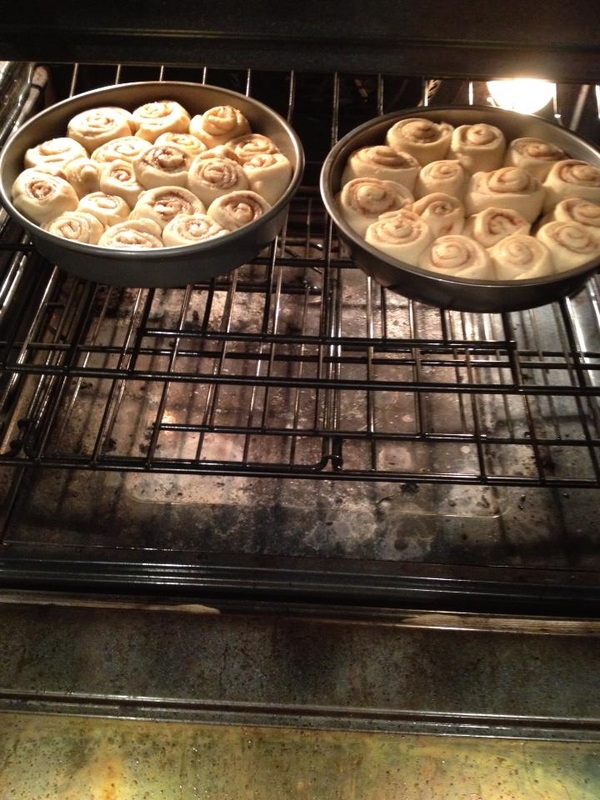 I switched the pan because the one I used in the previous photo was a bit too big. 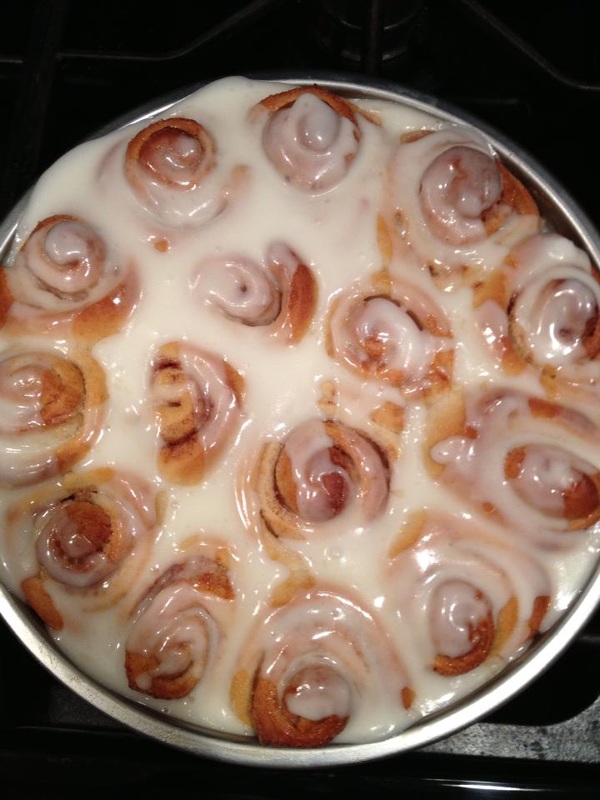 Oh my gosh....try sounding as ditzy as much as you can....they are soo yummeeeee! | 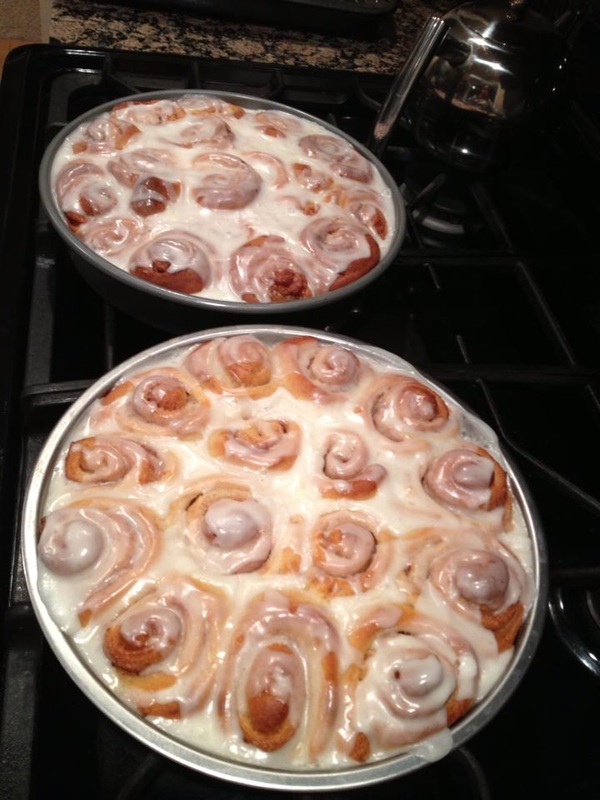 They are done and perfectly beautiful...no blemishes...they need no pro-active! |
|


 RSS Feed